A self-hosted C++20 BaaS — one binary, instant REST APIs, auth, realtime, and an admin dashboard.
Installation
Pre-built Binary
- Download the latest release from GitHub Releases
- Extract and run:
The server starts on http://localhost:7070.
Linux dependencies:
sudo apt-get install -y libpq-dev uuid-dev
Build from Source
git clone --recurse-submodules https://github.com/allankoechke/mantisbase.git
cd mantisbase
cmake -B build
cmake --build build
./build/mantisbase serve
See Installation Guide for more details.
First Steps
1. Create an Admin Account
./mantisbase admins --add admin@example.com your_password
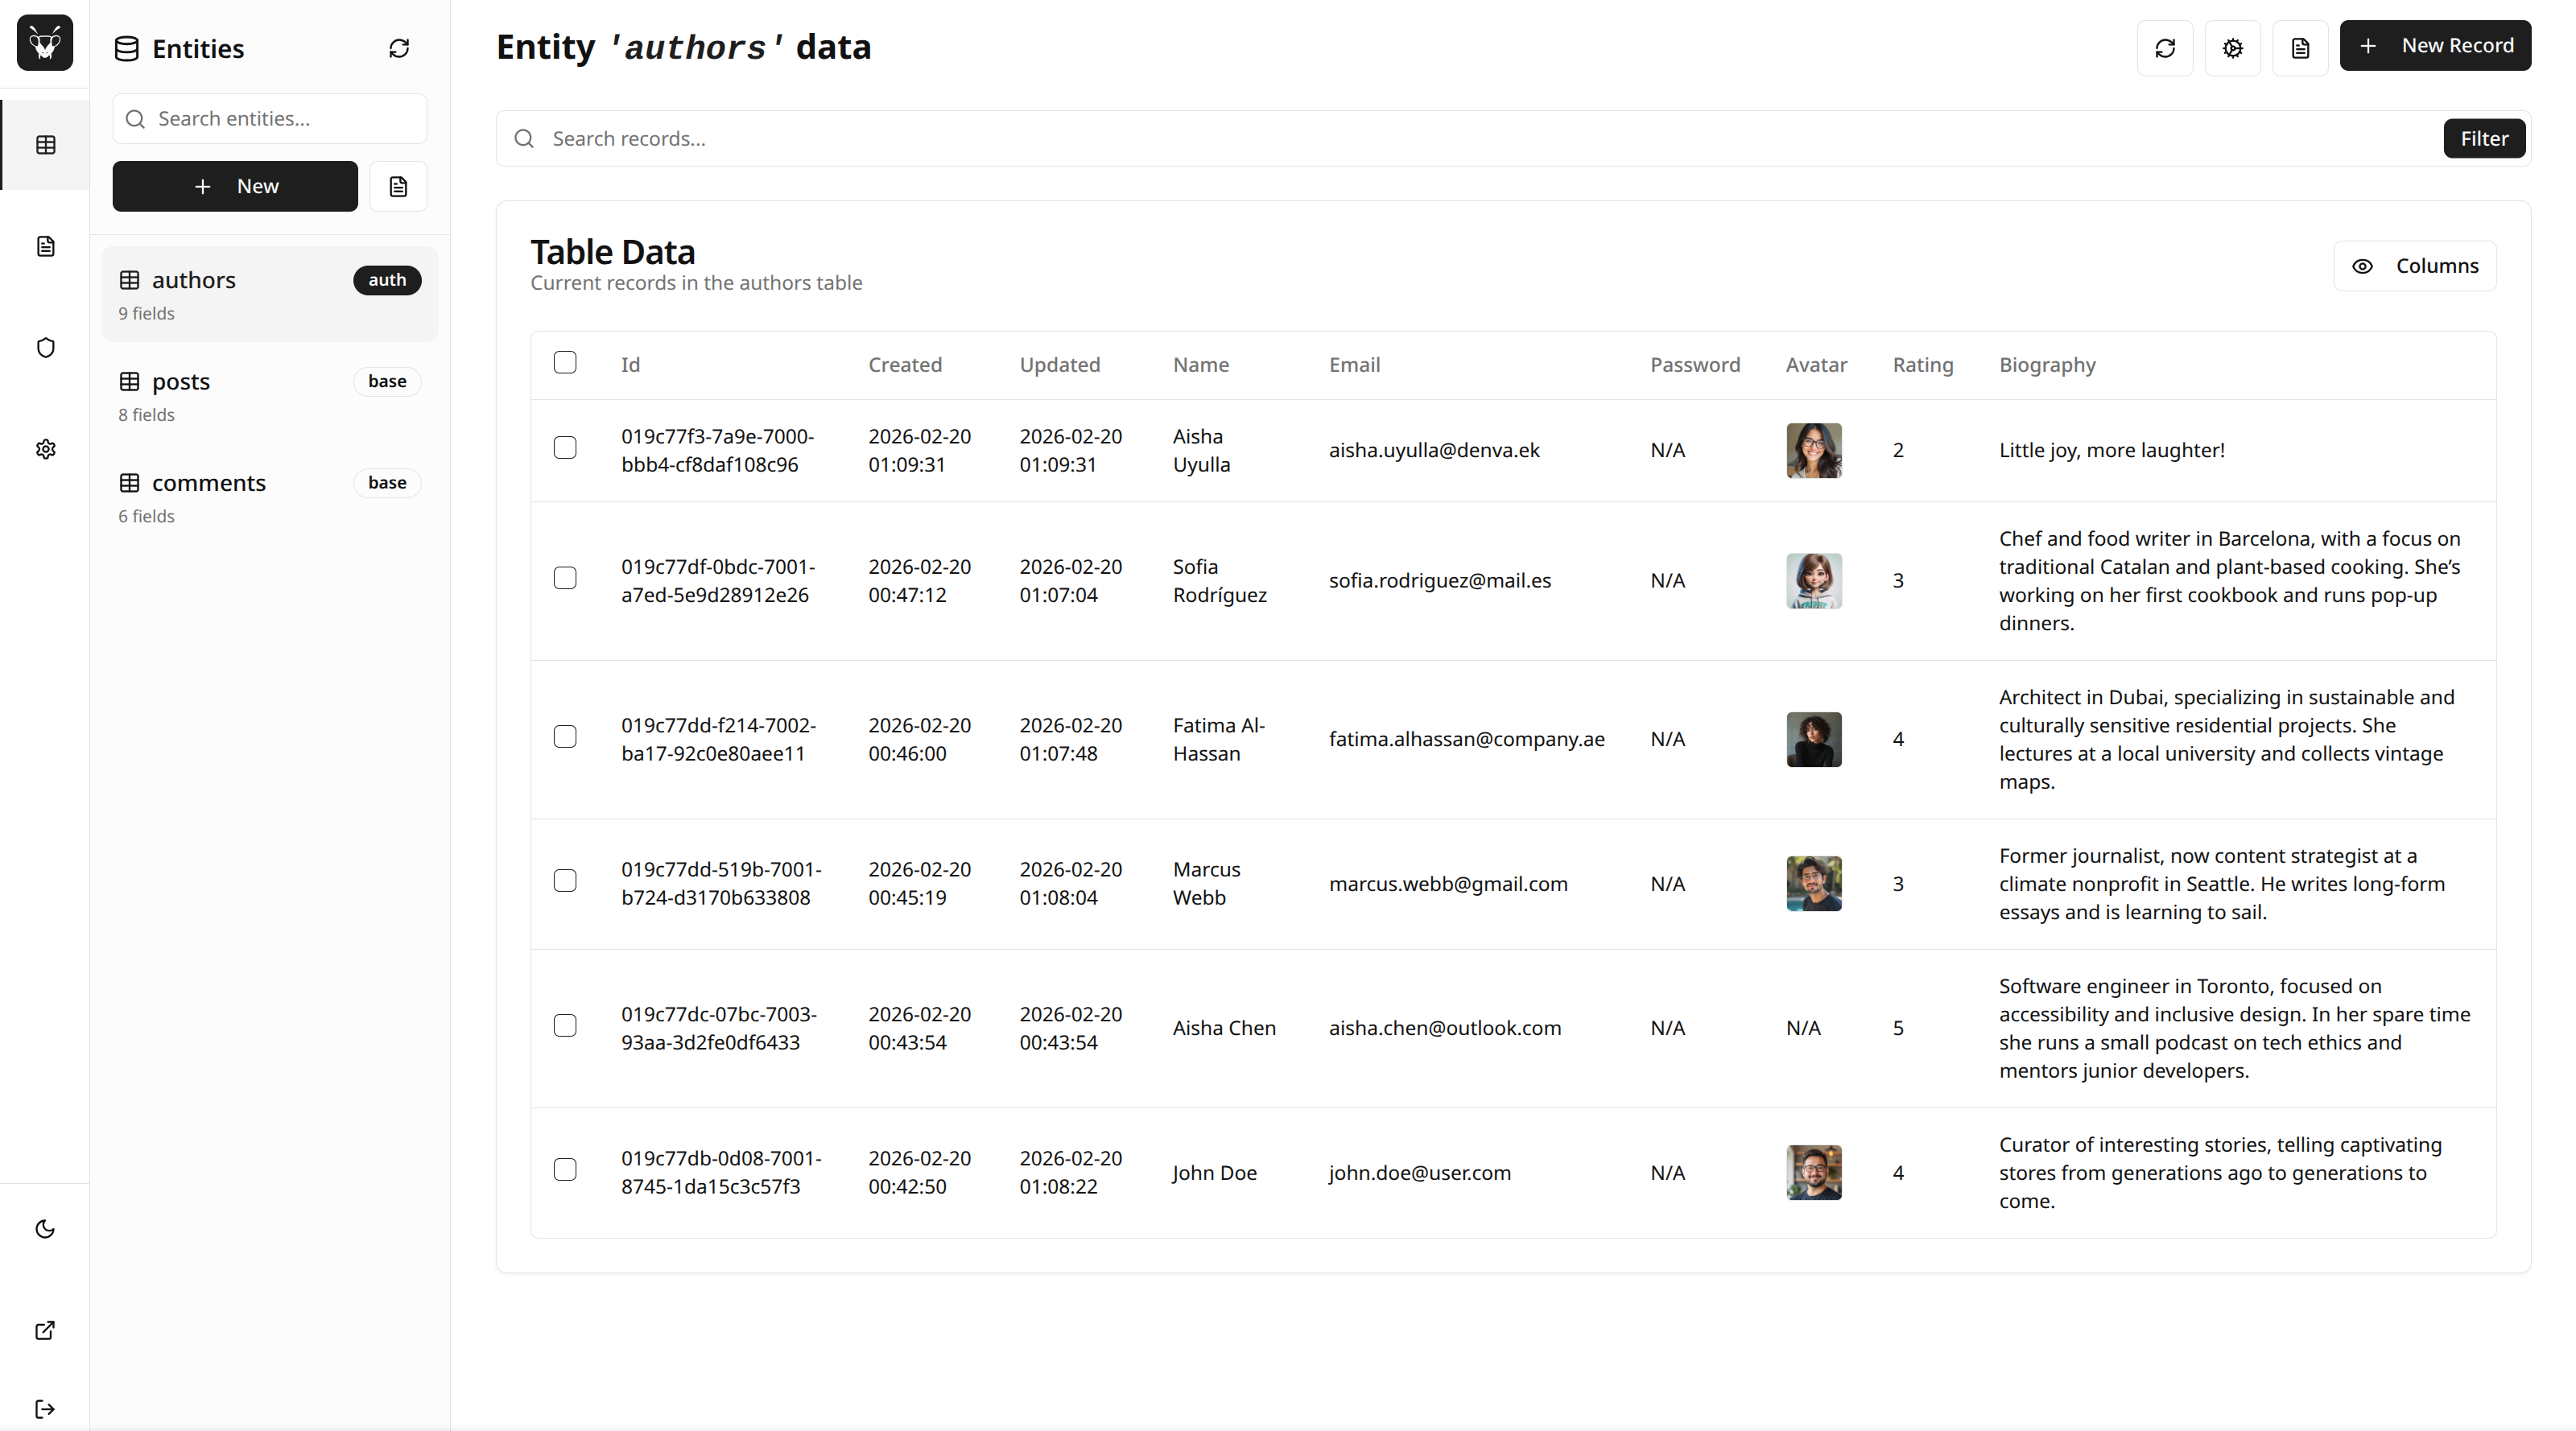
2. Access the Admin Dashboard
Open http://localhost:7070/mb and log in with your admin credentials.
The dashboard lets you create entities, manage records and schemas, configure access rules, and upload files — all without writing API calls.
3. Create Your First Entity
Using the Admin Dashboard (recommended): navigate to Schemas, click New, and fill in the name, fields, and access rules.
Using the API:
curl -X POST http://localhost:7070/api/v1/schemas \
-H "Authorization: Bearer <admin_token>" \
-H "Content-Type: application/json" \
-d '{
"name": "posts",
"type": "base",
"fields": [
{"name": "title", "type": "string", "required": true},
{"name": "content", "type": "string"}
],
"rules": {
"list": {"mode": "public", "expr": ""},
"get": {"mode": "public", "expr": ""},
"add": {"mode": "auth", "expr": ""},
"update": {"mode": "custom", "expr": "auth.id == req.body.author_id"},
"delete": {"mode": "", "expr": ""}
}
}'
4. Use Your Auto-generated API
# List all posts
curl http://localhost:7070/api/v1/entities/posts
# Get a specific post
curl http://localhost:7070/api/v1/entities/posts/<id>
# Create a post (requires authentication)
curl -X POST http://localhost:7070/api/v1/entities/posts \
-H "Authorization: Bearer <token>" \
-H "Content-Type: application/json" \
-d '{"title": "My First Post", "content": "Hello World!"}'
# Update a post
curl -X PATCH http://localhost:7070/api/v1/entities/posts/<id> \
-H "Authorization: Bearer <token>" \
-H "Content-Type: application/json" \
-d '{"title": "Updated Title"}'
# Delete a post
curl -X DELETE http://localhost:7070/api/v1/entities/posts/<id> \
-H "Authorization: Bearer <token>"
Authentication
# Login
curl -X POST http://localhost:7070/api/v1/auth/users/login \
-H "Content-Type: application/json" \
-d '{"identity": "user@example.com", "password": "password"}'
# Use the returned token
curl -H "Authorization: Bearer <token>" \
http://localhost:7070/api/v1/entities/posts
# Verify the token is still valid
curl http://localhost:7070/api/v1/auth/verify \
-H "Authorization: Bearer <token>"
See Authentication API for verify, refresh, logout, API keys, and OAuth.
Access Control
Each entity defines per-operation access rules:
| Mode | Description |
"public" | Open to everyone |
"auth" | Any authenticated user; optional entity filter restricts auth entity |
"" (empty) | Admin only |
"custom" | JavaScript expression — e.g. auth.id == req.body.author_id |
See Access Rules for details.
File Uploads
curl -X POST http://localhost:7070/api/v1/entities/posts \
-H "Authorization: Bearer <token>" \
-F "title=My Post" \
-F "image=@photo.jpg"
Serve files at GET /api/v1/files/posts/<filename>. See File Handling.
Configuration
# Custom port and host
mantisbase serve --port 8080 --host 0.0.0.0
# Development mode
mantisbase --dev serve
# PostgreSQL database
mantisbase --db postgresql \
--db_url "dbname=mantis host=localhost user=postgres password=pass" \
serve
Set MB_JWT_SECRET in production. See CLI Reference for all options.
Next Steps
- API Reference — All endpoints, schema management, realtime SSE and WebSocket
- Authentication API — Auth endpoints, API keys, OAuth
- Access Rules — Permission system
- File Handling — Upload, serve, and delete files
- Embedding Guide — Use MantisBase as a C++ library
- Scripting Guide — JavaScript extensions for custom routes
- Docker Guide — Container deployment
Documentation

 1.9.8
1.9.8